Key Organizer InstructionsUpdated 6 months ago
🔑 Getting Started with Your Axwell Key Organizer
Welcome to the Axwell Army — we're excited to have you on board!
Before you start using your new Axwell Key Organizer, please take a few moments to review this setup guide. Following the steps below will ensure your keys stay secure, organized, and easily accessible.
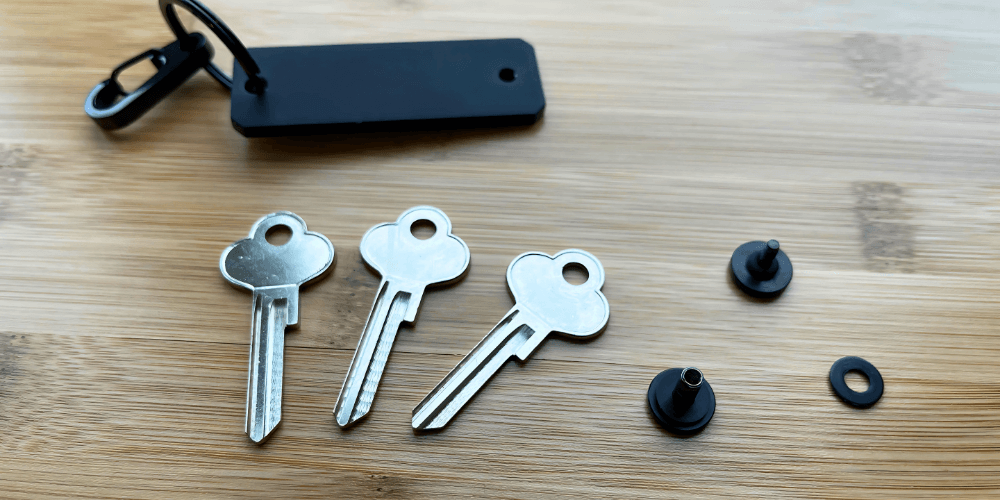
📦 What’s Included:
- 1 Axwell Key Organizer (pre-assembled)
- 2 Screw Posts (small and large)
- 1 Main Screw
- 1 Rubber Washer
- Multiple Plastic Washers
- Instruction Manual
🛠 Tools You’ll Need:
- A coin or flathead screwdriver
- 2–7 of your favorite keys
🔧 Assembly Instructions
Step 1: Disassemble the Organizer
- Use a coin, flathead screwdriver, or your thumbnail to remove the main screw.
- Carefully remove the screw post and all washers.
- Before removing, take a moment to observe how everything is assembled to make reassembly easier.
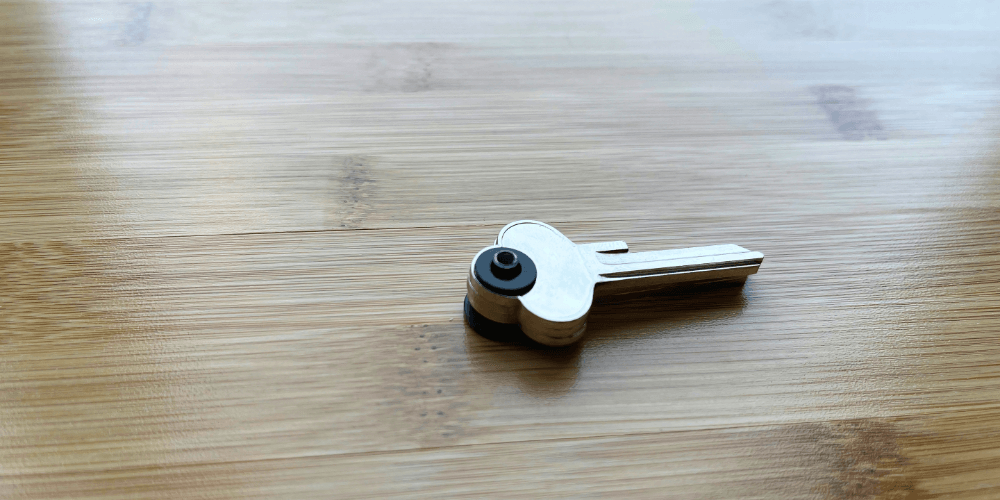
Step 2: Prep Your Screw Post and Keys
- Start by placing a plastic washer on the screw post.
- Choose your post size:
- Small: Fits 2–4 keys
- Large: Fits 5–7 keys
- Stack your keys onto the post, alternating with washers as needed to prevent rattling.
- Place one final washer at the top of the stack before inserting into the organizer.
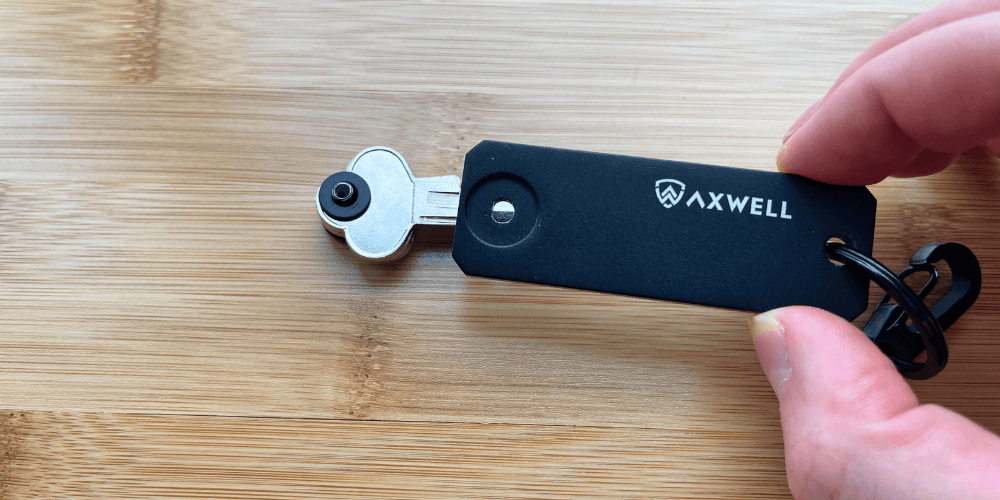
Step 3: Reassemble the Organizer
- Insert the screw post into the back side of the key organizer (the side without the Axwell logo).
- Ensure the flat side of the screw post is facing down and that the logo is right-side up.
- Gently press the post into place.
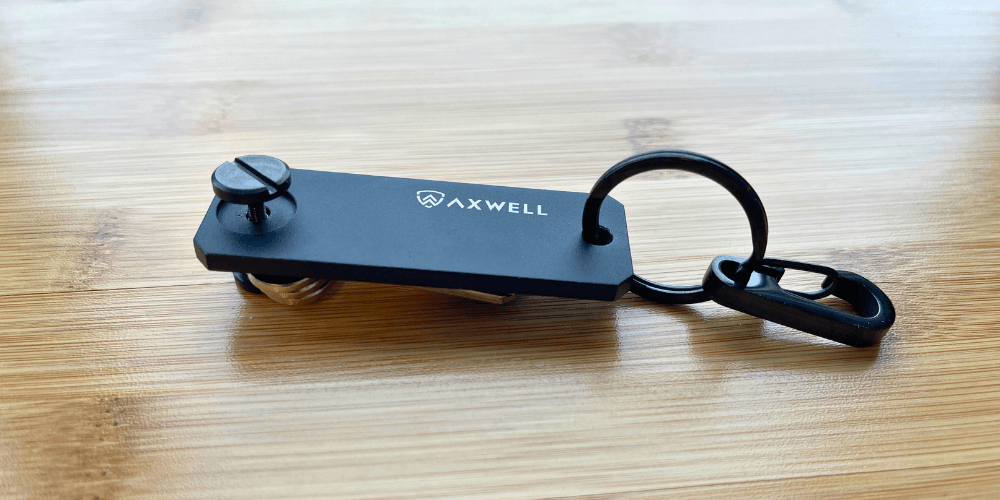
Step 4: Attach the Main Screw
- Place the rubber washer onto the main screw.
- Insert the screw through the front side (the one with the logo), and gently tighten.
- Important: Do not overtighten. Over-tightening can damage the washer or make the keys hard to swing out.
Step 5: Test Key Movement
- Pull a key out and ensure it swings smoothly.
- If it’s too tight, slightly loosen the main screw. If it’s too loose, gently tighten or add more washers.
Step 6: Add Accessories (Optional)
- Attach your car fob or bulky keys using the key ring.
- Give everything one final check to make sure all parts are snug and secure.
If you need additional help or replacement parts, feel free to contact our support team.